
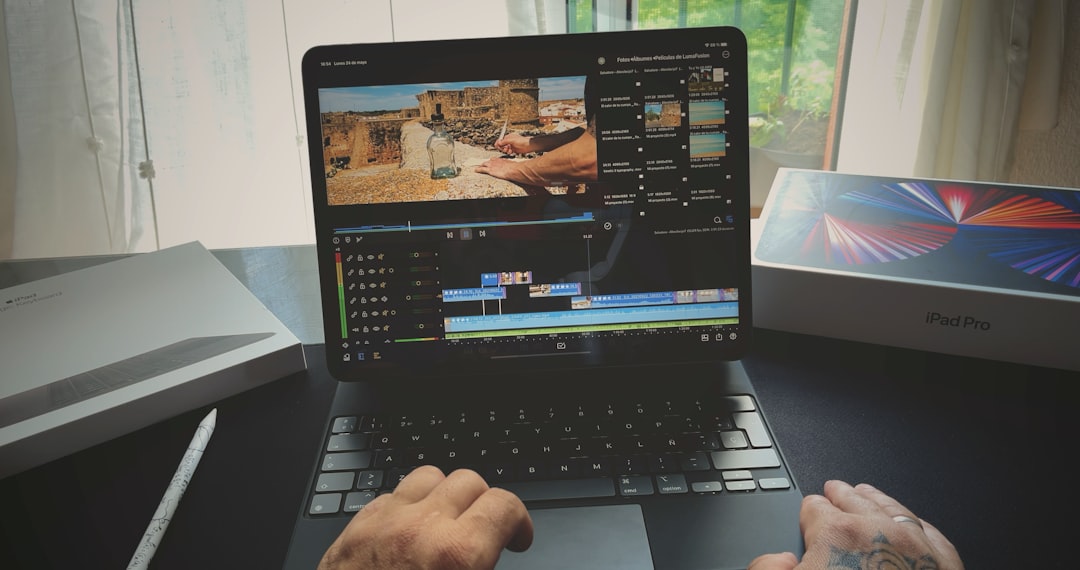
Few things derail your creative flow faster than a tool that simply refuses to cooperate. If you’ve ever tried dragging a picture into Microsoft Clipchamp and watched nothing happen, you know how frustrating it can be. Whether you’re creating a YouTube video, a business presentation, or social media content, smooth drag-and-drop functionality is essential for efficient editing. When that basic feature stops working, your entire workflow can grind to a halt.
TLDR: If you can’t drag a picture into Microsoft Clipchamp, the issue is usually related to browser glitches, file compatibility, permission restrictions, or temporary software bugs. Refreshing the editor, checking file formats, clearing cache, or switching browsers often fixes the problem quickly. In more stubborn cases, updating your system or re-uploading media resolves the issue. With a few simple steps, you can restore Clipchamp to its normal, seamless functionality.
Why Drag-and-Drop Matters in Clipchamp
Clipchamp is built around simplicity. Its clean interface and intuitive drag-and-drop functionality make it accessible even for beginners. Instead of navigating complex menus, you can simply grab an image and drop it onto the timeline.
When that function stops working, you may experience:
- Images refusing to upload
- Files not appearing in the media library
- Timeline placement failing
- Unexpected editor freezes
Before assuming something is seriously wrong, remember that most drag-and-drop issues stem from minor technical hiccups. Let’s explore four simple fixes that often restore normal editing within minutes.
Fix #1: Refresh or Restart Clipchamp
Sometimes the simplest solution is the most effective. Clipchamp runs in your browser (unless you’re using the desktop version), which means temporary glitches can interrupt functionality.
If dragging images suddenly stops working:
- Save your project immediately.
- Refresh the browser tab.
- If that doesn’t help, close and reopen Clipchamp entirely.
- Log out and back into your Microsoft account if necessary.
This resolves many issues caused by temporary memory overload or background script errors.
Why this works: Over time, browser-based applications accumulate temporary session data. A quick restart clears that data and reloads essential scripts, restoring drag-and-drop functionality.
If you’re using the Clipchamp desktop app, try restarting the application—or even your computer—to reset system-level processes.
Fix #2: Check Your File Format and Size
Not all image files are equally compatible. If Clipchamp refuses to accept your picture, the problem might be the file itself.
Supported image formats typically include:
- JPG / JPEG
- PNG
- BMP
- WEBP (in newer versions)
If you’re trying to upload a TIFF, RAW, or HEIC image, Clipchamp may not process it properly.
Here’s what to do:
- Convert the image to JPG or PNG using an online converter or editing software.
- Reduce the image resolution if it’s extremely large (e.g., 8000px wide).
- Ensure the file isn’t corrupted by opening it in another program first.
Oversized files can also cause drag failures. High-resolution professional photos may exceed comfortable performance limits, especially on lower-spec devices. Try compressing the image slightly before importing it.
Pro tip: Aim for images under 20MB whenever possible for smoother editing performance.
Fix #3: Clear Browser Cache or Switch Browsers
If refreshing doesn’t help, your browser cache might be interfering with Clipchamp’s functionality.
Browsers store cached data to speed up loading times—but outdated or corrupted cache files can break interactive features like drag-and-drop.
How to clear cache (general steps):
- Open your browser settings.
- Navigate to Privacy and Security.
- Select Clear Browsing Data.
- Choose Cached Images and Files.
- Restart your browser.
After clearing the cache, reopen Clipchamp and test the drag function again.
If clearing cache doesn’t solve the issue, try using a different browser. Although Clipchamp works best in Microsoft Edge and Google Chrome, occasional compatibility problems can occur after browser updates.
Recommended browsers for Clipchamp:
- Microsoft Edge (latest version)
- Google Chrome (latest version)
A quick browser switch often immediately restores image dragging capabilities.
Fix #4: Check File Permissions and Storage Location
Another overlooked issue involves system permissions. If your image is stored in a restricted folder, Clipchamp may not have permission to access it.
This is especially common when files are located in:
- External drives
- Cloud-synced folders not fully downloaded
- Corporate or school-managed systems
- Protected system directories
To fix this:
- Move the image to your local Desktop or Pictures folder.
- Ensure the file is fully downloaded (if stored in OneDrive, for example).
- Right-click the file → Properties → Confirm it isn’t blocked.
On managed work or school devices, administrator restrictions might limit drag-and-drop between applications. In that case, try uploading the image using Clipchamp’s manual Import Media button instead of dragging.
Permission issues are subtle but surprisingly common—especially after Windows updates.
Additional Troubleshooting Tips
If none of the four fixes solve your problem, consider these additional methods:
Update Your System
Ensure Windows, your browser, and Clipchamp are fully updated. Software mismatches can break interactive features.
Disable Browser Extensions
Some extensions—especially ad blockers or script blockers—can interfere with web apps. Temporarily disable extensions and test again.
Re-upload Media Instead of Dragging
Click the Import Media button inside Clipchamp. Select the image manually rather than dragging it. This bypasses potential drag-handler errors.
Check Internet Stability
Even though editing feels local, Clipchamp relies on cloud processing. Weak or fluctuating internet connections can disrupt uploads.
Preventing Future Drag-and-Drop Issues
Once you’ve fixed the problem, you’ll want to minimize the chances of it happening again.
Here’s how to maintain smooth editing performance:
- Keep your browser updated.
- Regularly clear unnecessary cached data.
- Avoid running too many heavy applications simultaneously.
- Optimize images before importing them.
- Store active project files locally instead of on external drives.
Video editing—even browser-based editing—can be resource-intensive. Giving Clipchamp adequate system resources makes drag-and-drop far more reliable.
When It’s a Platform-Wide Issue
Occasionally, the problem isn’t on your end at all. Microsoft services sometimes experience temporary outages or deployment bugs.
If drag-and-drop suddenly stops working:
- Check Microsoft’s service status page.
- Search online to see if other users report the same issue.
- Wait a few hours and try again.
Platform-wide glitches typically get resolved quickly, especially for widely used tools like Clipchamp.
Restoring Your Editing Workflow
Creative flow is delicate. When technical issues interrupt your progress, frustration builds quickly—but most Clipchamp drag-and-drop problems have straightforward solutions.
In many cases, the workflow can be restored in under five minutes by:
- Refreshing the session
- Clearing browser cache
- Switching browsers
- Converting image files
The key is systematic troubleshooting. Start with the simplest fix and move step by step. Avoid jumping straight into complex system changes unless basic solutions fail.
With these four simple fixes in your toolkit, you’ll be prepared to overcome one of the most common yet disruptive editing issues in Microsoft Clipchamp. Whether you’re designing promotional content or editing family vacation footage, smooth drag-and-drop functionality keeps your projects moving forward.
When technology behaves, creativity thrives. And now, if Clipchamp refuses to drag your picture, you know exactly how to bring your editing workflow back on track.