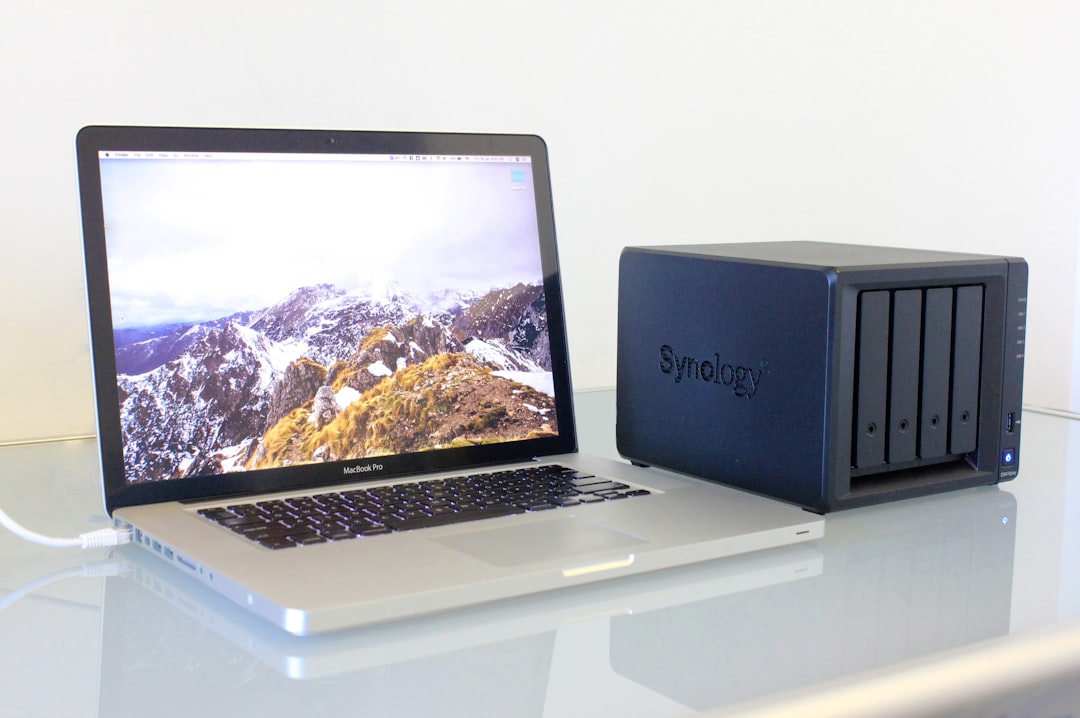
Old hard drives have a habit of outliving the computers they came from. Tucked in drawers, sold with used PCs, or tossed into recycling bins, they may still contain tax records, passwords, emails, photos, business files, and other private data. Securely destroying a hard drive is not just about breaking hardware; it is about making the stored information unrecoverable.
TLDR: To destroy a hard drive securely, first decide whether you need simple data wiping or physical destruction. For maximum security, encrypt the drive, wipe it with trusted software, then physically damage the platters or memory chips. Traditional hard disk drives and solid state drives require different destruction methods. If the data is highly sensitive, use a certified destruction or shredding service and request proof of destruction.
Why “Deleting Files” Is Not Enough
Dragging files to the recycle bin or formatting a drive does not necessarily erase the data. In many cases, the computer simply marks that space as available, while the original information remains on the disk until it is overwritten. With the right recovery tools, someone may be able to restore files you thought were gone.
This matters if you are donating, selling, recycling, or discarding a computer. Even a drive that appears broken can sometimes be repaired or read by specialists. If the information on it could harm you, your family, your customers, or your business, take destruction seriously.
Step One: Identify the Type of Drive
Before choosing a method, determine whether you are dealing with a hard disk drive or a solid state drive.
- HDD: A traditional hard disk drive stores data magnetically on spinning metal or glass platters. It often feels heavier and may make faint clicking or spinning sounds when powered.
- SSD: A solid state drive stores data on flash memory chips. It has no moving parts and is usually lighter, slimmer, and silent.
- Hybrid drives: Some drives combine spinning storage with flash memory, meaning they may require both HDD and SSD destruction techniques.
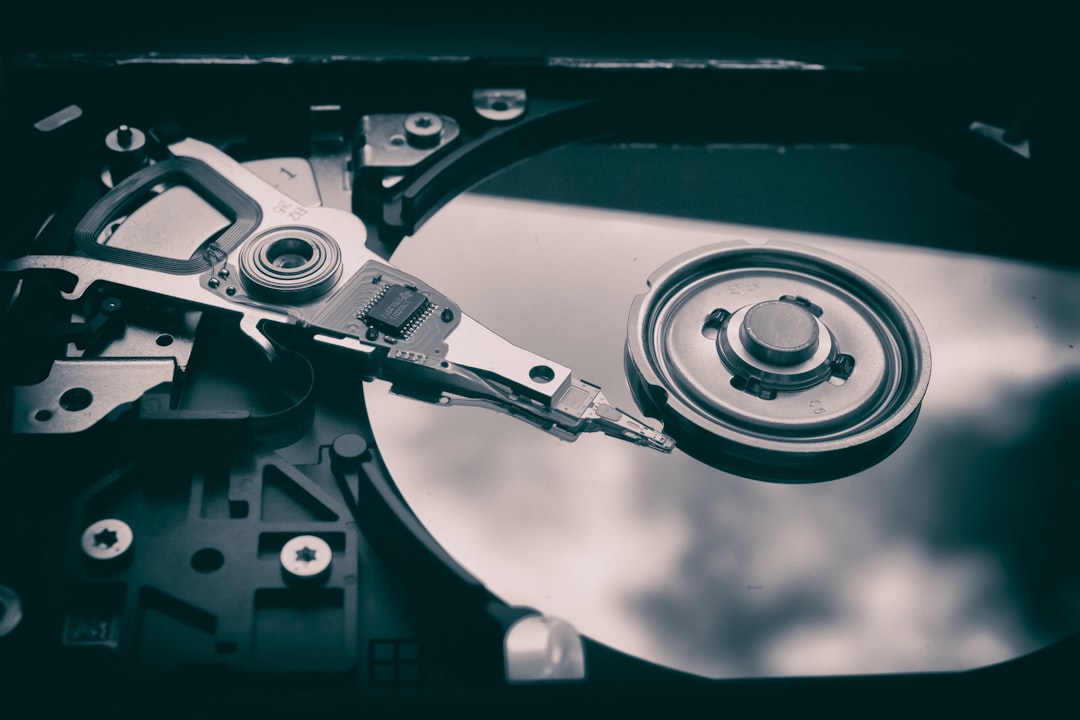
This distinction is important because methods that work well on an HDD may not fully destroy data on an SSD. For example, drilling through one spot on an HDD platter may ruin a large portion of the disk, while drilling through an SSD casing might miss several tiny flash chips where data remains.
Option One: Wipe the Drive Before Destroying It
If the drive still works, consider wiping it before physical destruction. This adds an extra layer of protection, especially if the drive might be handled by a recycler, repair person, or disposal company before it is finally destroyed.
For HDDs, reputable disk-wiping tools can overwrite the entire drive with random data or zeros. One full overwrite is often enough for modern drives, though some organizations require multiple passes for compliance reasons. For SSDs, use the manufacturer’s secure erase tool or a trusted utility that supports SSD sanitization. SSDs use wear leveling, which can make ordinary overwriting less reliable.
Another smart step is to encrypt the drive first. If a drive is encrypted with a strong password and then wiped or damaged, recovery becomes far more difficult. Encryption is not a substitute for destruction when you need certainty, but it is an excellent protective layer.
Option Two: Physically Destroy an HDD
For traditional hard drives, the key target is the platter. That is the circular disk inside the drive where data is stored. To access it, remove the screws from the casing. Some may be hidden under labels, and many drives use Torx screws rather than standard Phillips screws.
Once the drive is open, you can destroy the platters in several ways:
- Drilling: Drill multiple holes through the platters. Use eye protection, gloves, and a stable work surface. One hole is not ideal; several holes across different areas are better.
- Scoring or sanding: Deeply scratch both platter surfaces with a tool. Light scratches are not enough; the goal is to ruin the magnetic surface.
- Breaking platters: Some platters are glass or ceramic and may shatter. If you do this, wear safety goggles and contain the fragments carefully.
- Bending or crushing: Bending the platters makes recovery extremely difficult, especially when combined with drilling or scratching.
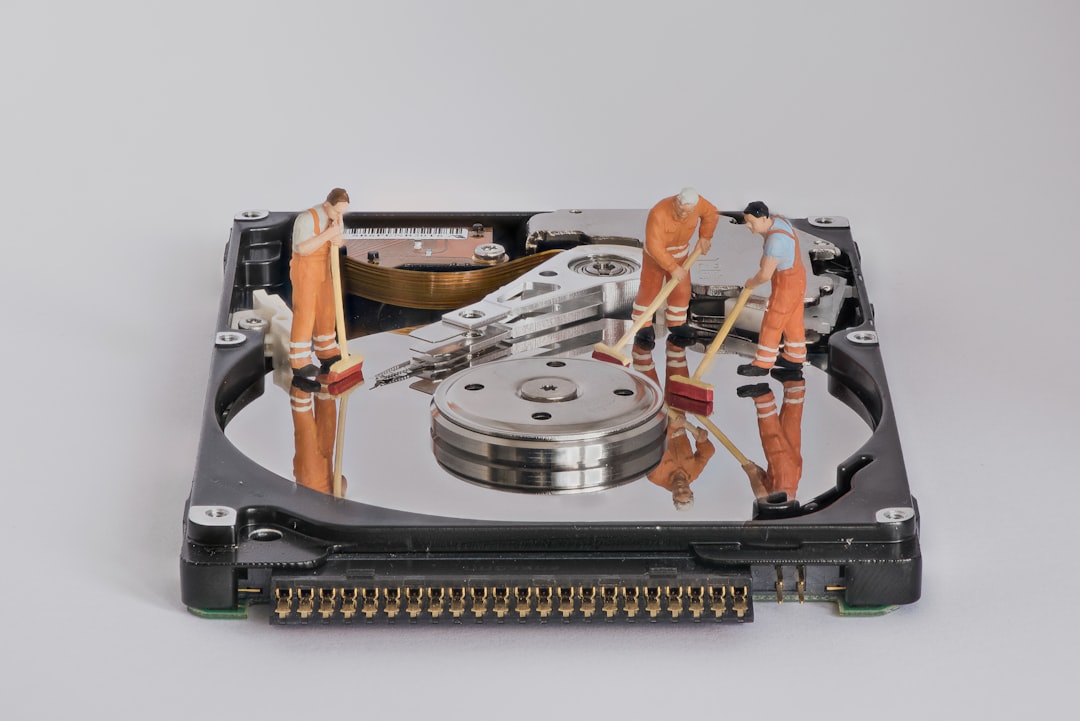
Do not rely on smashing the outside of the drive with a hammer if the platters remain intact inside. A dented case may look destroyed, but the data-bearing surfaces could still be readable by someone determined enough.
Option Three: Destroy an SSD Properly
Destroying an SSD requires a different approach. The important components are the small flash memory chips inside the casing. If any of those chips remain intact, data may still be recoverable in some circumstances.
Open the SSD and locate the memory chips on the circuit board. They often look like small black rectangles. For strong destruction, the chips should be physically cracked, crushed, shredded, or ground down. Drilling random holes through the case is unreliable unless you are certain the drill passes through every memory chip.
For highly sensitive SSDs, professional shredding is usually the best method. Industrial shredders can reduce drives and chips into tiny fragments, making recovery impractical.
What About Degaussing?
Degaussing uses a powerful magnetic field to disrupt data stored magnetically. It can be effective for traditional HDDs, but it does not work on SSDs because flash memory is not magnetic. Also, consumer magnets are not strong enough to reliably erase a hard drive. A refrigerator magnet, speaker magnet, or small workshop magnet will not do the job.
Professional degaussers are expensive, specialized machines. They may be useful for organizations handling large numbers of HDDs, but for most individuals, wiping plus physical destruction is more practical.
Use a Certified Destruction Service for Sensitive Data
If the drive contains business records, medical files, legal documents, financial information, or regulated data, consider using a certified data destruction company. These services can shred, crush, or degauss drives according to recognized standards. Many also provide a certificate of destruction, which documents how and when the drive was destroyed.
This is especially useful for businesses that must prove compliance with privacy laws or internal security policies. Ask whether the company offers witnessed destruction, serialized asset tracking, and environmentally responsible recycling.
Safety and Environmental Considerations
Hard drives contain metals, magnets, circuit boards, and sometimes glass platters. Destroying them can create sharp edges, flying fragments, and fine dust. Always wear safety glasses and gloves, and work in a ventilated area. Do not burn drives, melt them, or use unsafe chemicals. These methods can release toxic fumes and create unnecessary hazards.
After destruction, dispose of the remains through an electronics recycling program. Many communities, office supply stores, and recycling centers accept e-waste. Secure destruction and responsible recycling can go hand in hand.
A Practical Secure Destruction Checklist
- Back up anything you need before starting.
- Confirm whether the drive is an HDD or SSD.
- If possible, encrypt the drive first.
- Use appropriate secure erase or wiping software.
- Physically destroy the correct data storage components.
- For SSDs, make sure all flash memory chips are destroyed.
- Recycle the remaining materials responsibly.
- For sensitive or regulated data, use a certified destruction provider.
Securely destroying a hard drive is about matching the method to the risk. For an old home computer, wiping and physically damaging the drive may be enough. For confidential business or legal data, professional destruction is the safer choice. Either way, the goal is simple: make sure the information leaves your life as permanently as the hardware does.