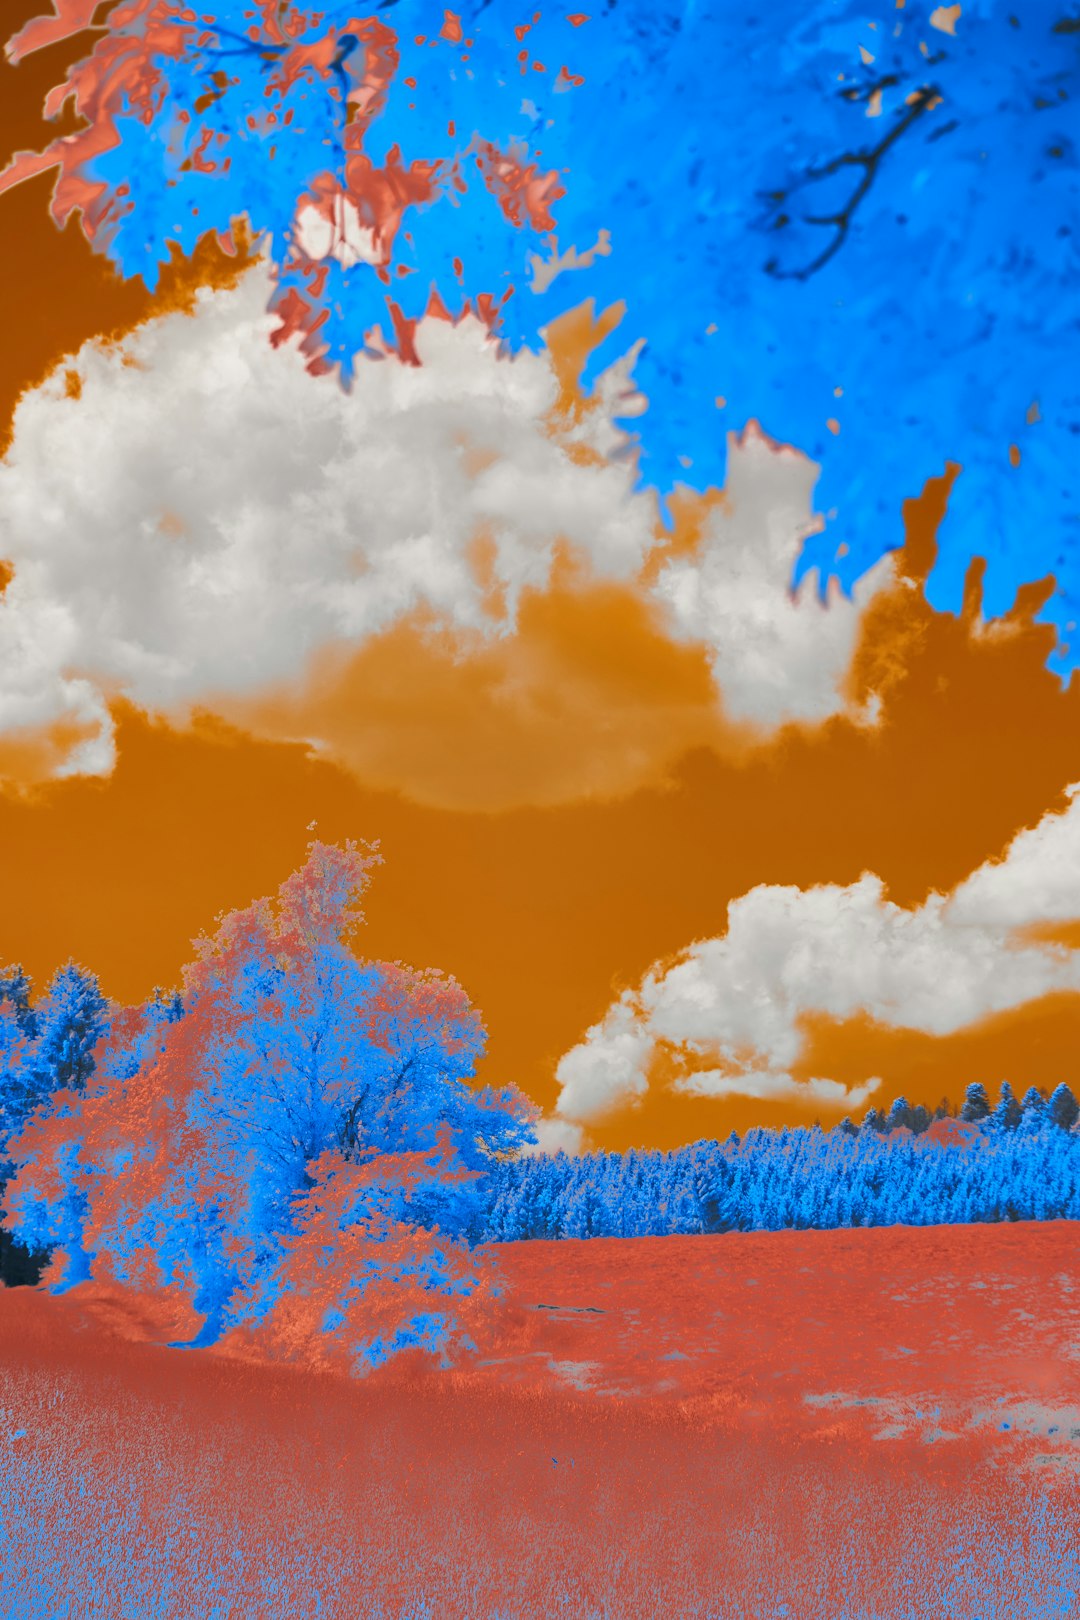
Inverting colors sounds like a magic trick. And honestly, it kind of is. One click can turn a sunny photo into a glowing alien world. A white background becomes black. Red becomes cyan. Blue becomes yellow. It is fast, weird, useful, and very fun.
TLDR: In Microsoft Paint, open your image, select the part you want, then right-click and choose Invert color. In Paint.NET, open your image and go to Adjustments > Invert Colors. You can invert the whole picture or only a selected area. Always save a copy first, unless you enjoy tiny pixel disasters.
What Does “Invert Colors” Mean?
To invert colors means to flip each color to its opposite. Think of it like a color mirror. Black turns white. White turns black. Green turns magenta. Yellow turns blue.
It can make an image look spooky, dreamy, or like a secret spy document. It can also help with checking contrast, making stencils, creating art effects, or preparing images for printing.
Very fancy? Yes. Very easy? Also yes.
Before You Start: Make a Copy
This is the boring part. But it saves lives. Well, file lives.
Before you invert anything, make a copy of your image. That way, the original stays safe and happy.
- Right-click your image file.
- Choose Copy.
- Right-click in the folder.
- Choose Paste.
- Rename the copy if you want.
Now you can experiment freely. Make it dark. Make it neon. Make it look like a haunted banana. No regrets.
How to Invert Colors in Microsoft Paint
Microsoft Paint is simple. It is also surprisingly handy. You do not need layers. You do not need filters. You do not need a tiny wizard hat. You just need the selection tool.
Method 1: Invert the Whole Image in Paint
Follow these steps:
- Open Microsoft Paint.
- Click File, then choose Open.
- Select your image and open it.
- Click Select on the toolbar.
- Choose Select all.
- Right-click anywhere inside the selected image.
- Click Invert color.
That is it. Your whole image should now look like it came from another dimension.
If you do not see Invert color, check that the image is selected first. Paint usually needs an active selection before showing the option.
Method 2: Invert Only Part of an Image in Paint
This is where things get more fun. You can invert just one face, one object, or one tiny suspicious duck in the corner.
- Open your image in Paint.
- Click Select.
- Choose Rectangular selection or Free-form selection.
- Drag around the area you want to change.
- Right-click inside the selected area.
- Choose Invert color.
Only the selected part will flip colors. The rest of the image stays normal. This is great for funny edits, quick effects, or making one object pop.
Helpful Paint Tips
Paint is easy, but it can be a little sneaky. Here are a few tips.
- Use Undo: Press Ctrl + Z if you make a mistake.
- Select first: The invert option usually appears only after selecting something.
- Save as a new file: Use File > Save as to avoid replacing the original.
- Try free-form selection: It lets you make silly shapes. Silly shapes are important.
Paint may look different depending on your Windows version. But the basic idea is the same. Select the area. Right-click. Invert.
How to Invert Colors in Paint.NET
Paint.NET is more powerful than Microsoft Paint. It has layers, effects, adjustments, and other grown-up tools. But inverting colors is still very simple.
In Paint.NET, the invert command lives in the Adjustments menu. Sounds serious. It is not scary.
Method 1: Invert the Whole Image in Paint.NET
Here is the fast way:
- Open Paint.NET.
- Click File, then Open.
- Choose your image.
- Go to Adjustments in the top menu.
- Click Invert Colors.
Boom. The whole image changes instantly.
You can also use the keyboard shortcut Ctrl + Shift + I in many versions of Paint.NET. If it works, wonderful. If not, the menu method still has your back.
Method 2: Invert Only Part of an Image in Paint.NET
Paint.NET also lets you invert a selected area. This is useful if you want more control.
- Open your image in Paint.NET.
- Choose a selection tool from the toolbar.
- Use Rectangle Select, Lasso Select, or Magic Wand.
- Select the part you want to invert.
- Go to Adjustments > Invert Colors.
Only the selected area is inverted. The rest stays untouched. Very neat. Very tidy. Very “I meant to do that.”
Using Layers in Paint.NET
Paint.NET has layers. Layers are like clear sheets stacked on top of each other. You can edit one layer without hurting the others.
If your image has many layers, the invert command affects the active layer. So check the Layers panel before you click.
- Click the layer you want to edit.
- Select an area if needed.
- Use Adjustments > Invert Colors.
This gives you better control. You can invert a background, a shape, text, or a pasted object. It is like having a tiny art laboratory.
Creative Ideas for Inverted Colors
Now that you know the buttons, let the chaos begin. Inverted colors are not just for mistakes. They can make cool things.
- Make spooky portraits: Great for Halloween or dramatic profile pictures.
- Create bold posters: Inverted colors can look loud and graphic.
- Design strange backgrounds: Turn normal photos into abstract art.
- Check contrast: Inverting can help you notice weak light and dark areas.
- Make fake night vision: Add green after inverting for a sci-fi look.
Try inverting a photo, then inverting only one part back again. This can create a cool split effect. Half normal. Half wild. Fully dramatic.
Common Problems and Quick Fixes
The option is missing in Paint.
Select the image first. Use Select all, then right-click inside the selection.
Only one part changed in Paint.NET.
You probably had a selection active. Press Ctrl + D to deselect, then invert again.
The wrong layer changed.
Click the correct layer in the Layers panel. Then try again.
The image looks too intense.
That is normal. Inverted colors can be wild. Try lowering brightness, changing saturation, or using the effect on just one area.
Paint vs. Paint.NET: Which Is Better?
Use Paint if you want something quick and simple. It is great for fast edits. It is also already on many Windows computers.
Use Paint.NET if you want more control. It is better for layers, selections, and cleaner editing. It feels more like a real photo editor, but it is still friendly.
Both can invert colors. Paint is the snack. Paint.NET is the sandwich.
Final Thoughts
Inverting colors is one of the easiest image tricks you can learn. In Paint, select an area and use Invert color. In Paint.NET, use Adjustments > Invert Colors. That is the whole spell.
So open an image and try it. Flip the colors. Make it weird. Make it cool. Make your cat look like an electric space goblin. Art is allowed to be silly.