Taking screenshots is a common task for smartphone users, especially for sharing information, saving images, or troubleshooting issues. By default, Samsung smartphones running Android save screenshots in the PNG format. While PNG offers high-quality images with no loss in detail, it also results in larger file sizes. If you want to save space or share screenshots more easily, you might prefer switching to the JPEG format, which offers a smaller file size. In this article, we’ll explain how you can change the screenshot format on Samsung devices running Android.
Why Change the Screenshot Format?
The default PNG format is great for high-quality images because it uses lossless compression, meaning the image quality remains intact even after being saved or edited. However, the larger file size can become an issue, particularly if you take many screenshots or have limited storage.
Switching to JPEG offers a smaller file size with lossy compression, meaning the quality may slightly decrease, but the file size will be more manageable for storage and sharing.
Changing the Screenshot Format: Step-by-Step Guide
Unfortunately, Samsung doesn’t have a built-in option in the settings to change the screenshot format directly from PNG to JPEG. However, there are several workarounds and third-party solutions that allow you to either convert screenshots or save them in JPEG format.
Here’s how you can do it:
Option 1: Convert Screenshot Format Manually Using a Photo Editor
One of the simplest ways to change a screenshot’s format is to use Samsung’s built-in Gallery app or any photo editing app to manually convert the screenshot from PNG to JPEG after taking it.
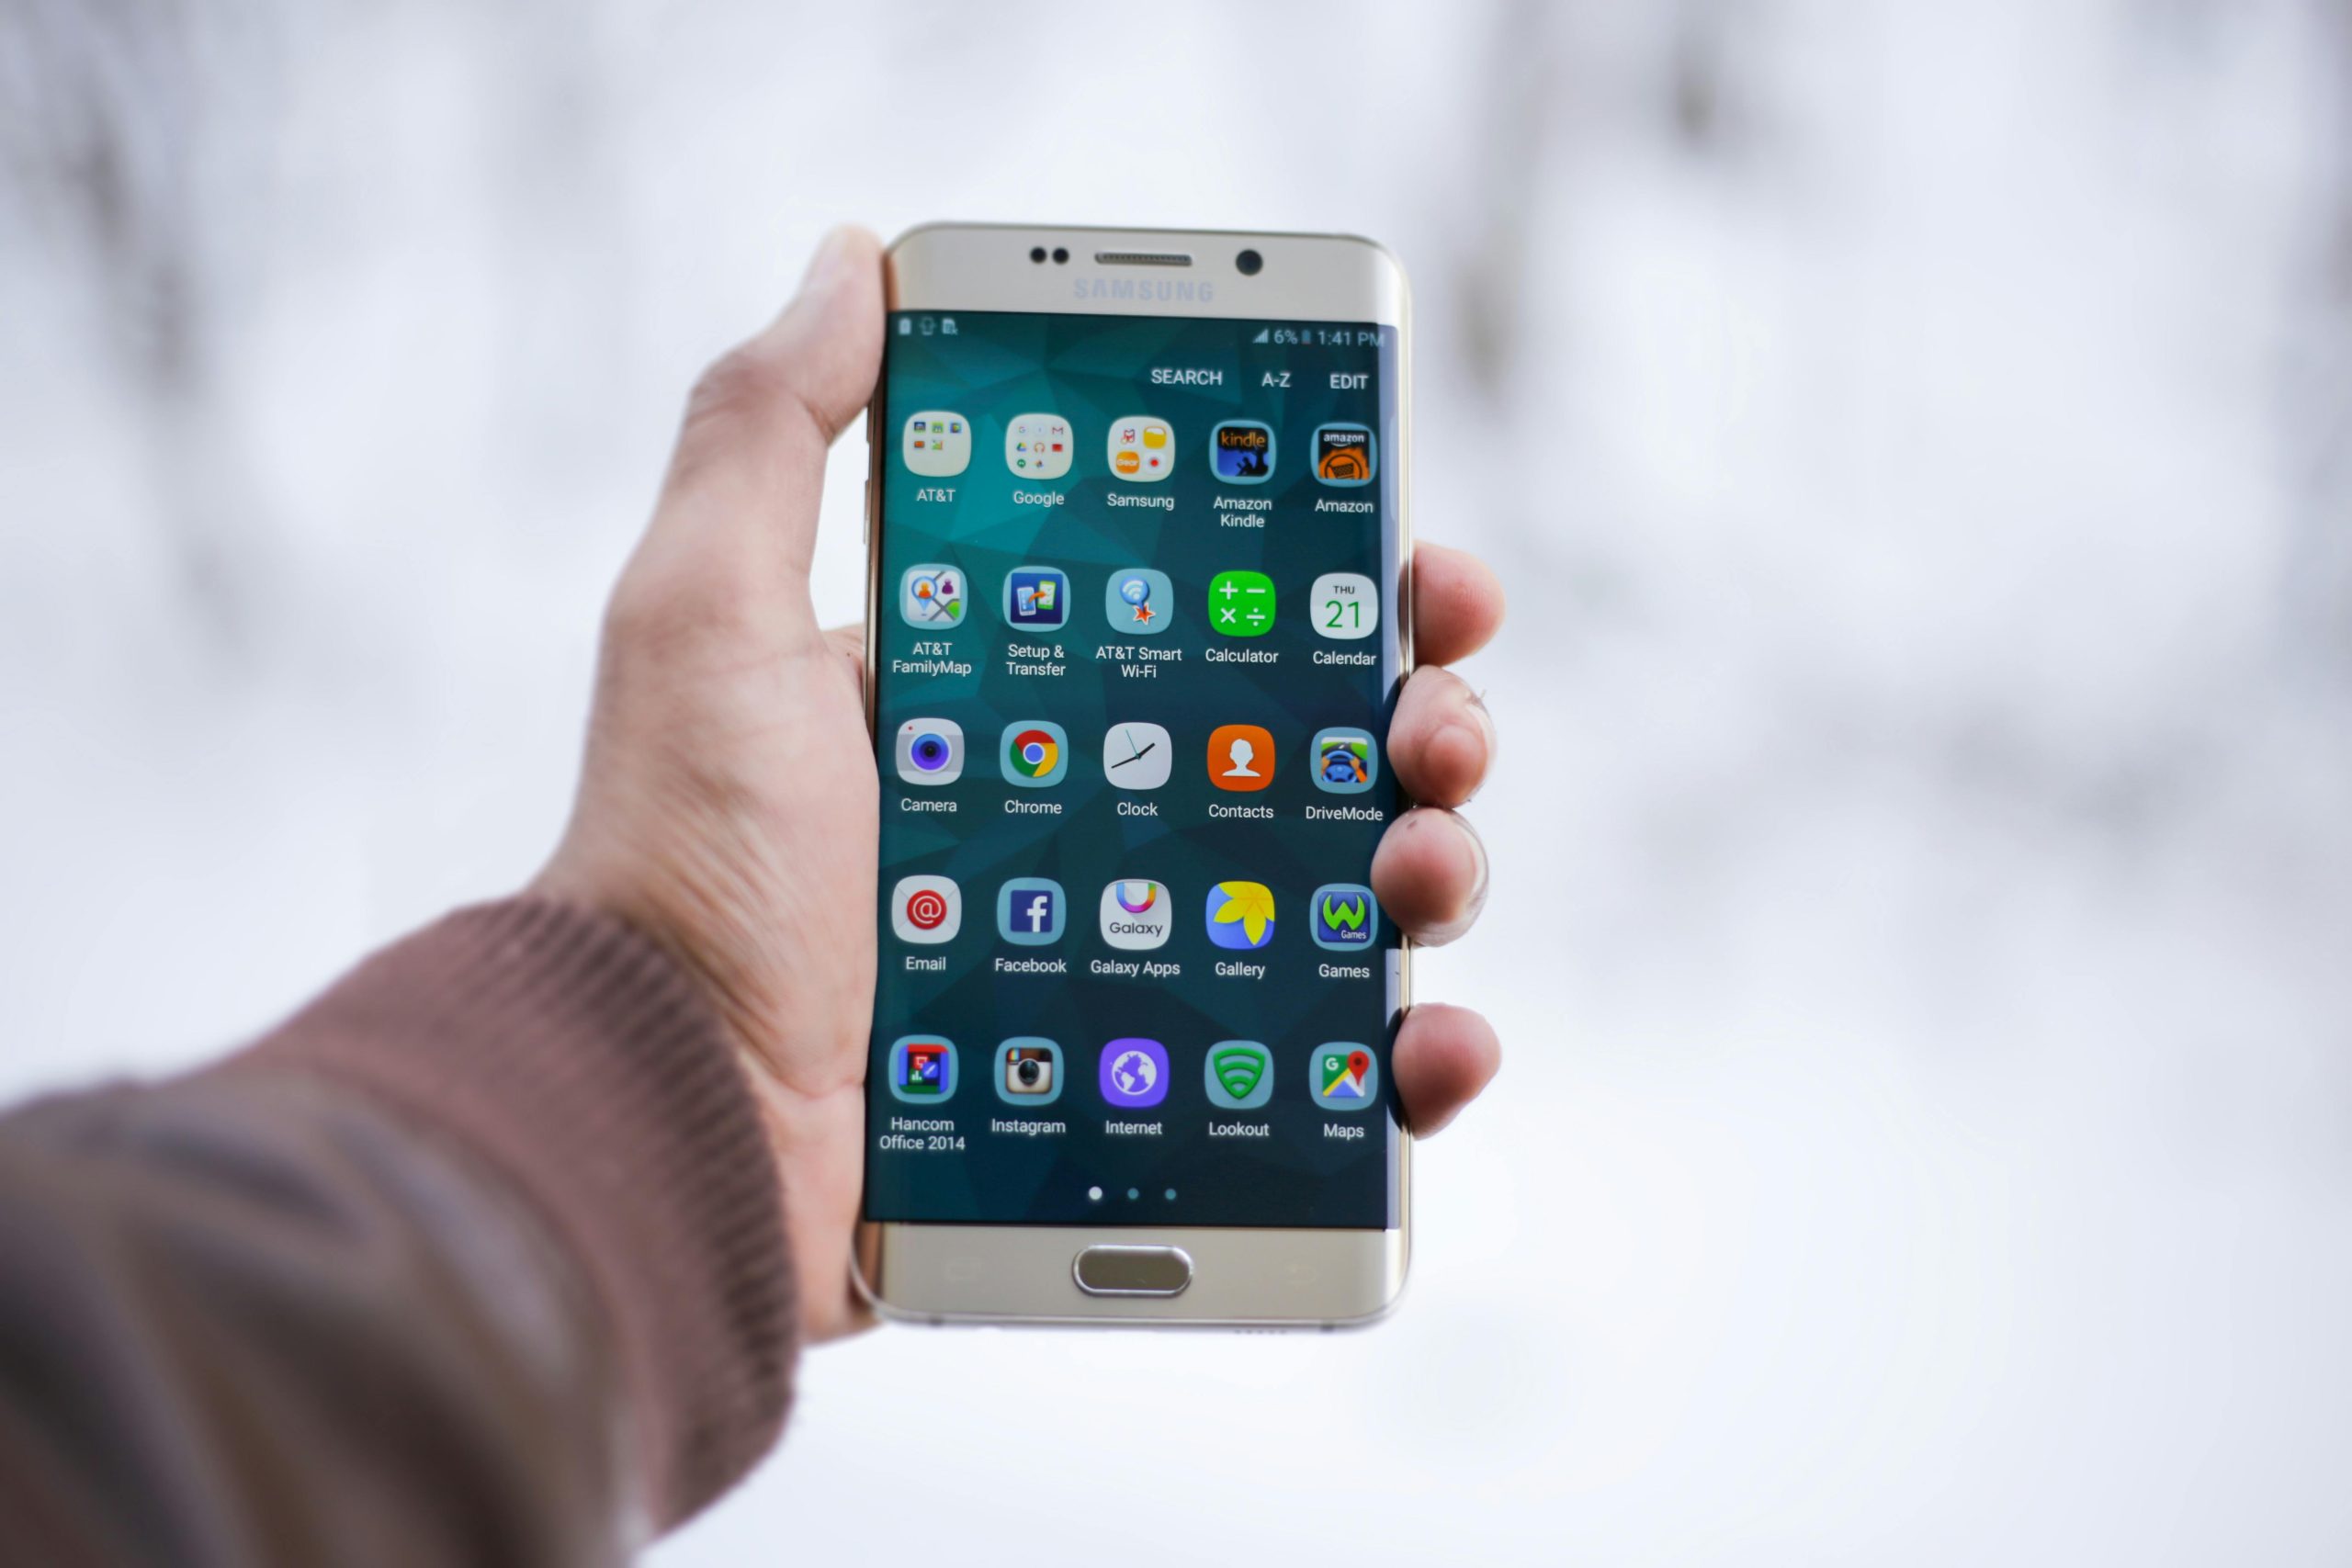
1. Take a Screenshot: Capture a screenshot using your Samsung device by pressing the Power and Volume Down buttons simultaneously.
2. Open the Screenshot in Gallery: After taking the screenshot, go to the Gallery app and open the screenshot.
3. Edit the Image: Tap on the Edit button (represented by a pencil icon) to open the editing tools.
4. Save as JPEG: Once in the editor, click on the options to Save As or export the file. Select JPEG as the file format before saving the screenshot.
This method ensures you can keep the high-quality PNG screenshot and convert it into a JPEG when needed.
Option 2: Use a Third-Party App to Save Screenshots as JPEG
If you want a more automated approach, you can use third-party apps that allow you to capture and save screenshots directly in JPEG format.
1. Download a Screenshot App: Go to the Google Play Store and search for screenshot apps like Screenshot Easy or Super Screenshot. These apps provide more customization options, including saving screenshots in different formats like JPEG.
2. Set JPEG as Default Format: In the app’s settings, configure it to save screenshots in JPEG format instead of PNG.
3. Take Screenshots Using the App: Use the app’s screenshot function to capture images. Screenshots will automatically be saved in the JPEG format.
Option 3: Use an Online Converter (For Older Screenshots)
If you have existing PNG screenshots you’d like to convert, you can use online tools like TinyPNG or JPEG.io to convert images from PNG to JPEG easily. Upload your screenshots and download the JPEG versions in just a few clicks.
While Samsung doesn’t offer a built-in way to change the screenshot format directly, using workarounds like editing screenshots in the Gallery app or using third-party apps is a quick solution. Whether you’re looking to save space or share screenshots more easily, switching to the JPEG format offers a practical alternative for most users.