The Acer Predator 17 G9-793 is a high-performance gaming laptop designed to handle demanding applications and modern gaming titles. However, like many powerful systems, its long-term performance depends heavily on having sufficient memory. Upgrading the RAM to the maximum supported capacity is one of the most effective ways to extend its useful life, improve multitasking, and enhance overall responsiveness. This guide provides a detailed, trustworthy, and technically accurate explanation of how to upgrade your Acer Predator 17 G9-793 to its maximum RAM configuration.
TLDR: The Acer Predator 17 G9-793 supports up to 64GB of DDR4 RAM across four memory slots. To upgrade, you need compatible DDR4 SO-DIMM modules (typically 2133MHz or 2400MHz depending on BIOS support). Access requires removing the bottom panel and possibly the keyboard deck for the upper slots. Proper installation, static safety precautions, and BIOS verification are essential to complete the upgrade successfully.
Understanding the Maximum RAM Capacity
The Acer Predator 17 G9-793 comes with four DDR4 SO-DIMM memory slots. According to Acer’s official specifications and chipset limitations, the system supports up to 64GB of DDR4 RAM, typically in a 4 x 16GB configuration.
Key memory specifications include:
- Memory Type: DDR4 SO-DIMM
- Number of Slots: 4
- Maximum Capacity: 64GB
- Supported Speeds: 2133MHz (native), some configurations may support 2400MHz depending on CPU and BIOS
- Voltage: 1.2V
Before purchasing memory, confirm your current configuration. Many units ship with 16GB or 32GB pre-installed, often occupying two slots and leaving others available.
Why Upgrade to 64GB?
While 16GB or 32GB is sufficient for many gaming workloads, there are strong reasons to consider upgrading to the full 64GB:
- Heavy multitasking with virtual machines and development environments
- Video editing and rendering in professional software
- Large-scale CAD or 3D modeling projects
- Future-proofing the system for demanding applications
- Improved performance stability in memory-intensive games
For professional users, content creators, and engineers, maximizing RAM can significantly reduce slowdowns caused by memory swapping.
Tools and Preparation
Upgrading RAM in the Acer Predator 17 G9-793 requires careful preparation. Before starting, gather the following:
- Small Phillips-head screwdriver
- Plastic prying tool (optional but recommended)
- Anti-static wrist strap
- Clean, static-free workspace
- Compatible DDR4 SO-DIMM modules
Important: Always power off the laptop fully and disconnect the AC adapter. If the battery is removable, remove it before proceeding.
Step-by-Step Upgrade Process
Step 1: Power Down and Ground Yourself
Shut down Windows completely. Disconnect all cables and peripherals. Press and hold the power button for 10 seconds to discharge residual electricity. Use an anti-static wrist strap or periodically touch a grounded metal object to prevent static damage.
Step 2: Remove the Bottom Panel
The Predator 17 G9-793 provides partial internal access from the underside.
Turn the laptop upside down on a soft surface. Remove the screws securing the bottom panel. Carefully pry the panel open using a plastic tool to avoid scratching the casing.
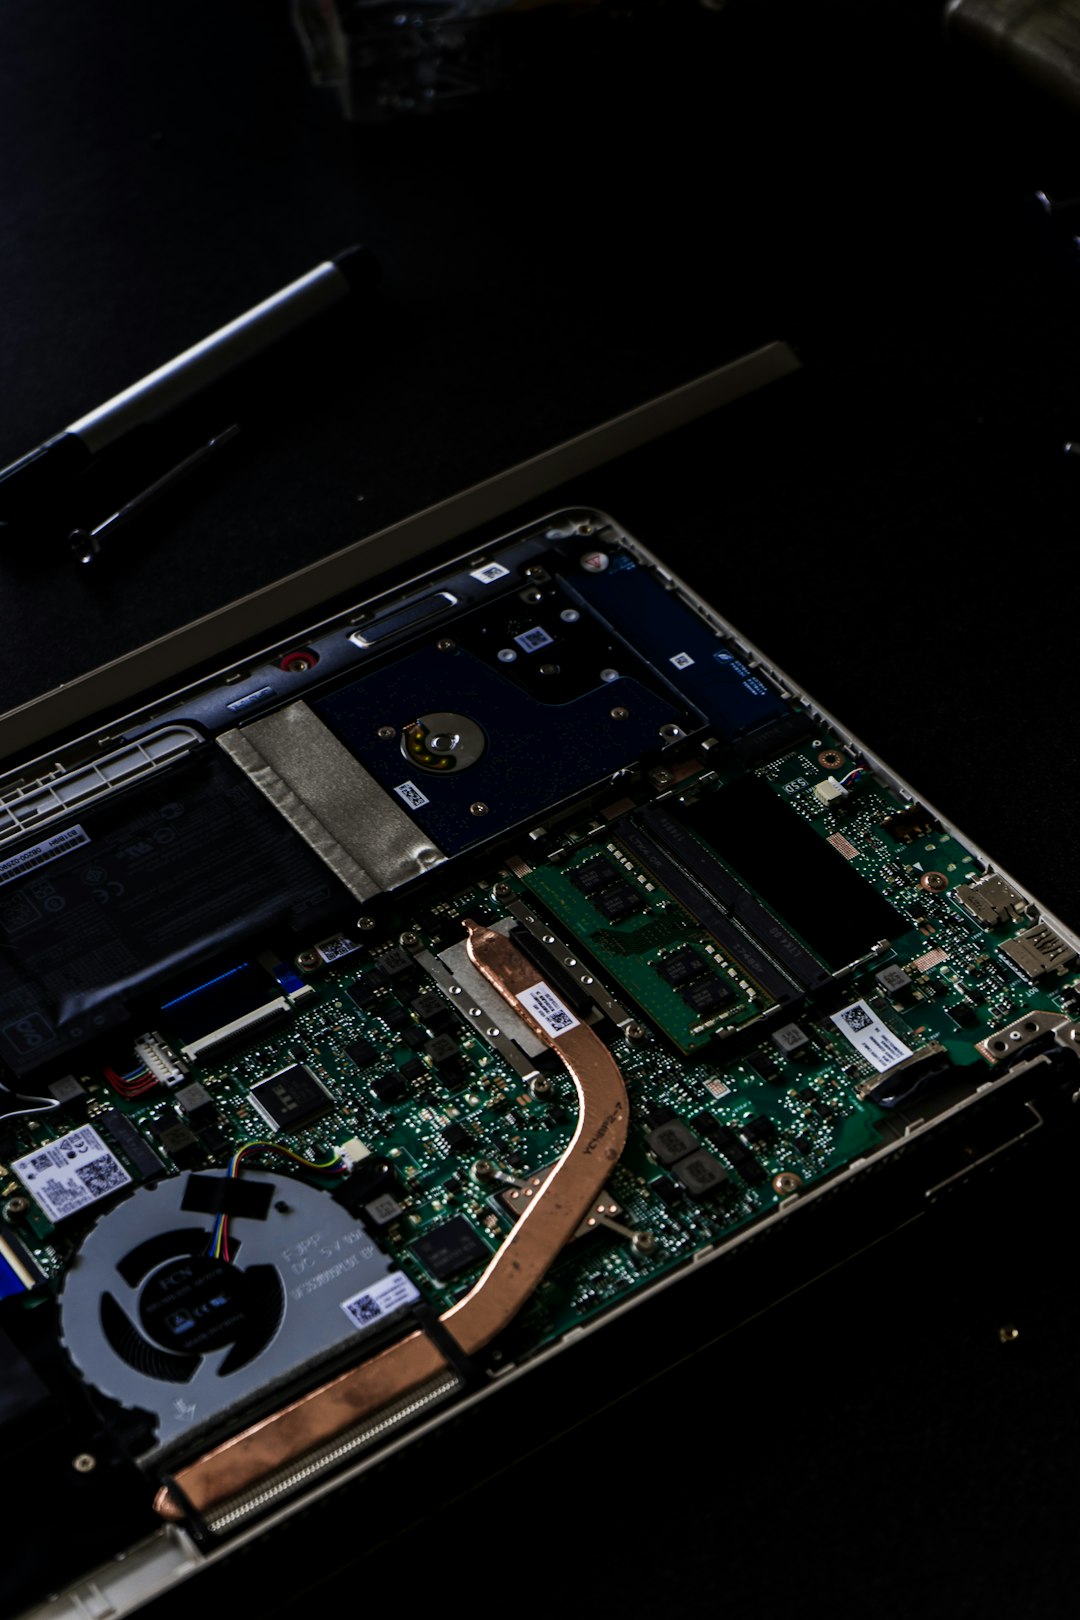
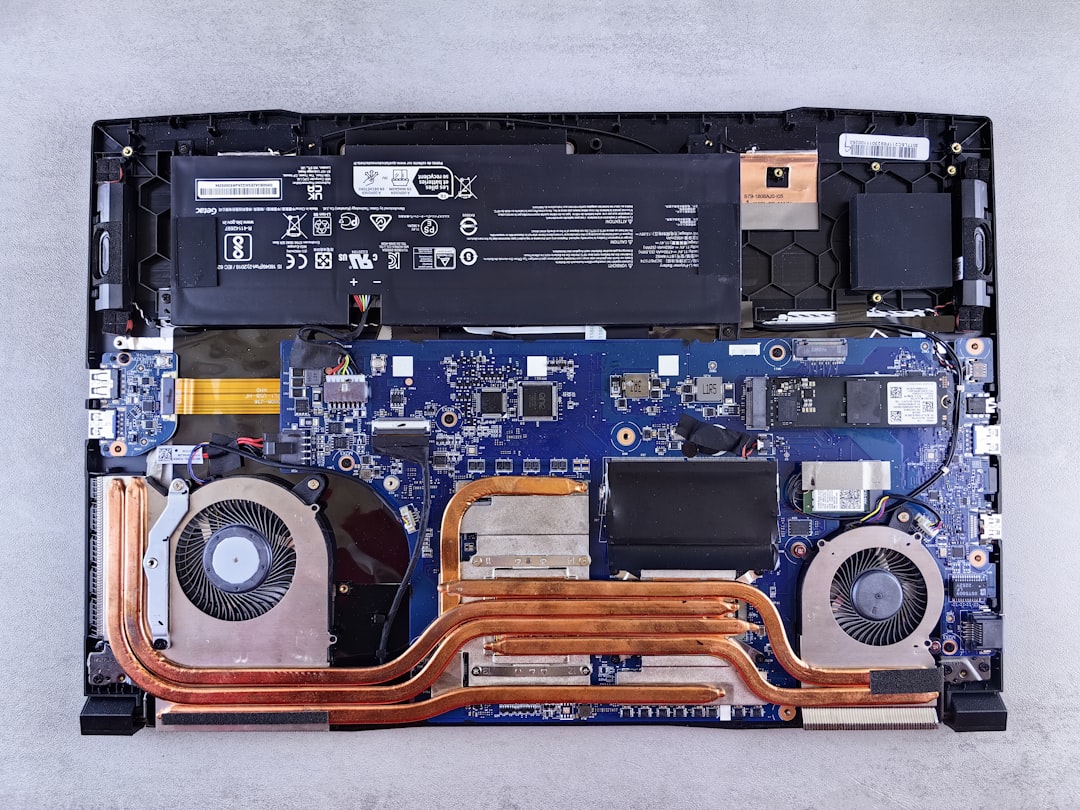
Inside, you will see:
- Cooling fans and heat pipes
- Storage bays
- Two of the RAM slots (in most configurations)
Step 3: Access the Remaining RAM Slots
The Predator 17 G9-793 contains two additional RAM slots located beneath the keyboard deck. Accessing them may require removing additional screws and carefully detaching the top panel.
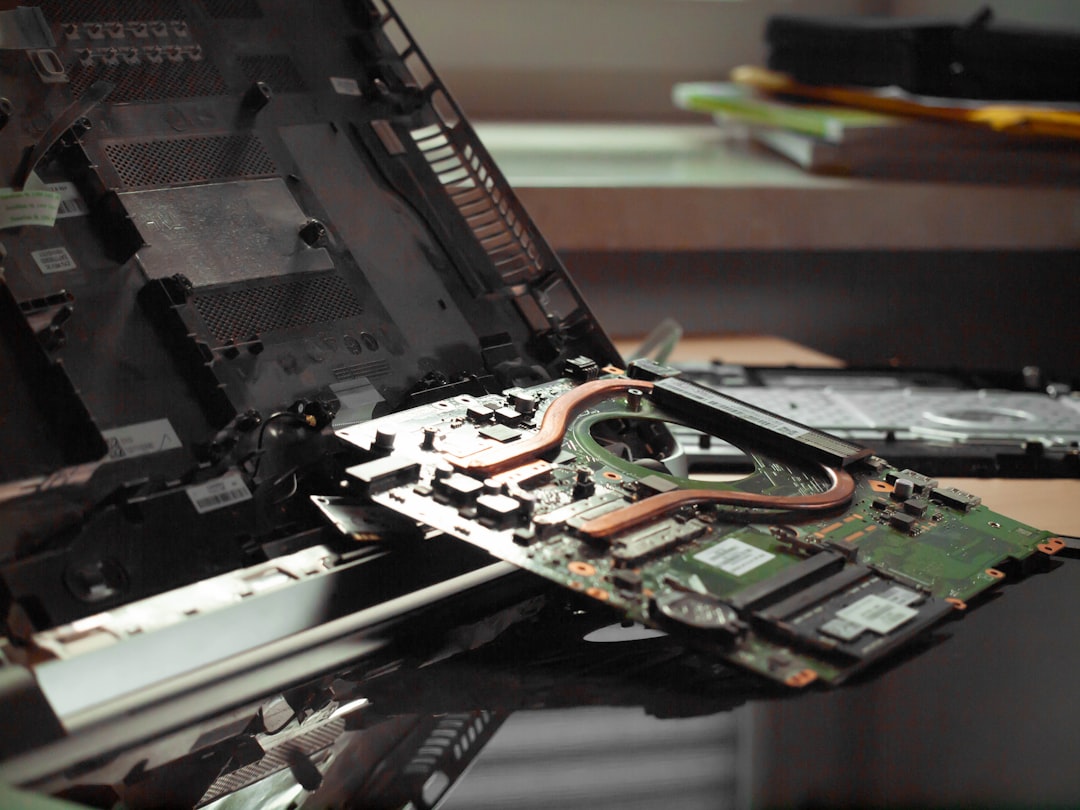
This process involves:
- Removing screws securing the upper chassis
- Gently separating the keyboard deck
- Disconnecting ribbon cables cautiously
If you are unfamiliar with internal laptop disassembly, consider consulting a professional technician. Improper handling may damage cables or connectors.
Step 4: Install the RAM Modules
To install a RAM module:
- Align the notch on the SO-DIMM with the slot.
- Insert the module at a 30-degree angle.
- Press down gently until the clips snap into place.
Never force a module into the slot. If it does not fit smoothly, verify orientation.
If installing four 16GB modules:
- Ensure all modules are identical for optimal compatibility.
- Prefer matching brand, speed, and timing.
- Install in pairs if upgrading gradually.
Step 5: Reassemble the Laptop
After installation:
- Reconnect any detached ribbon cables.
- Secure the keyboard deck.
- Reattach the bottom cover.
- Replace and tighten all screws evenly.
Verify the Upgrade
After reassembly, reconnect power and turn on the laptop.
Check BIOS
Immediately press F2 during startup to enter BIOS. Verify that the system recognizes the full 64GB of memory.
Check in Windows
- Right-click This PC
- Select Properties
- Confirm installed RAM is displayed correctly
If the full capacity is not recognized:
- Reseat the modules.
- Check for partially inserted sticks.
- Update BIOS if necessary.
- Test each module individually.
Compatibility Considerations
Not all DDR4 modules are ideal for this system. When selecting RAM:
- Choose reputable brands (Crucial, Kingston, Corsair, Samsung).
- Avoid mixing different speeds or timings if possible.
- Ensure 1.2V operating voltage.
- Prefer non-ECC, unbuffered memory.
Mixing different brands can work but may reduce stability in high-load scenarios. For maximum reliability, use a matched 64GB kit designed for gaming laptops.
Potential Risks and Precautions
Upgrading RAM is generally safe, but the following risks should be noted:
- Warranty Void: Opening certain internal sections may affect warranty status.
- Static Damage: Improper grounding can destroy components.
- Connector Damage: Ribbon cables are delicate.
- Compatibility Issues: BIOS limitations may affect speed.
If your device is still covered by warranty, review Acer’s terms before proceeding.
Performance Expectations After Upgrading
Users upgrading to 64GB can expect noticeable benefits in specific situations:
- Smoother performance when running multiple high-memory applications.
- Reduced stuttering in memory-intensive games.
- Improved workflow in creative applications such as Adobe Premiere Pro or Blender.
- Greater stability when running virtual machines or server simulations.
However, everyday browsing or light gaming may not show dramatic improvements beyond 16GB or 32GB. The real advantage is creating headroom for professional workloads.
When to Consider Professional Installation
You may want professional assistance if:
- You lack experience disassembling laptops.
- You are uncomfortable removing the keyboard section.
- The unit still has an active warranty.
- You encounter BIOS recognition issues after installation.
An experienced technician can complete the upgrade quickly while minimizing risk.
Final Thoughts
Upgrading the Acer Predator 17 G9-793 to its maximum 64GB RAM capacity is a practical, forward-looking investment for users who demand high performance. With four accessible DDR4 SO-DIMM slots and strong chipset support, the system is designed to scale beyond its factory configuration. Careful preparation, proper module selection, and attention to installation detail are essential to ensure success.
When performed correctly, this upgrade transforms the Predator 17 G9-793 into a highly capable workstation-class gaming laptop, ready to handle advanced multitasking, professional content creation, and intensive computational workloads for years to come.